
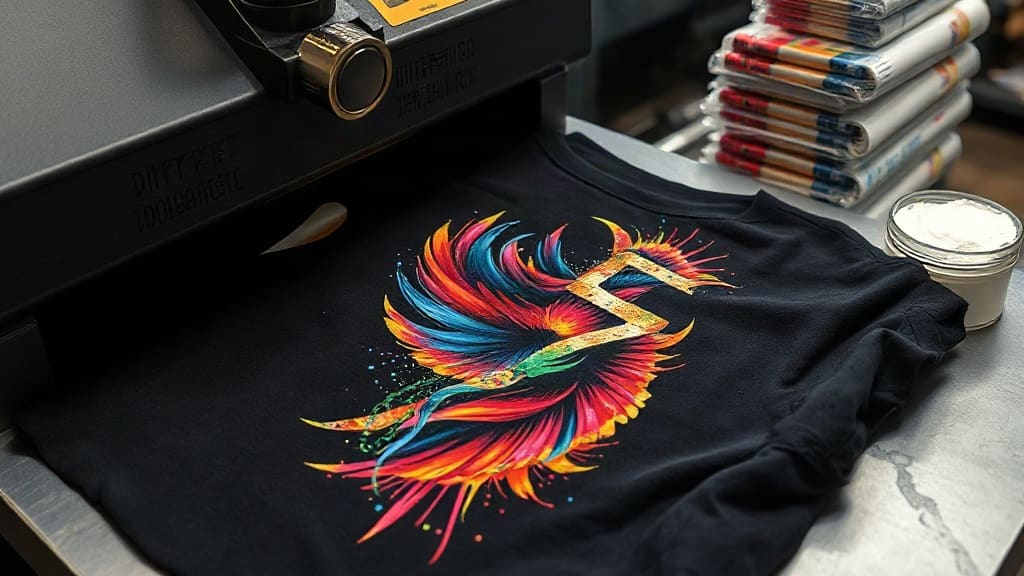
DTF transfers have taken the custom printing world by storm, offering a versatile and cost-effective way to create vibrant designs on a wide range of fabrics. Whether you're a small business owner looking to expand your product line or a hobbyist wanting to make custom t-shirts at home, understanding this technology is essential. In this guide, we'll dive deep into what DTF transfers are, how they work, and why they might be the perfect solution for your printing needs.
Direct to Film (DTF) printing is a relatively new method that involves printing your design onto a special film, applying adhesive powder, and then heat-pressing it onto fabric. Unlike traditional screen printing, DTF doesn't require screens or setup fees, making it ideal for both small orders and single custom pieces. The result is a soft, durable print that can be applied to cotton, polyester, blends, and even harder surfaces like hats and bags.
Let's explore the ins and outs of DTF transfers, from the equipment and materials needed to step-by-step instructions for achieving professional results. We'll also compare DTF with other popular methods and answer some frequently asked questions to help you decide if this is the right route for your projects.
How DTF Transfers Work: The Process Explained
To fully appreciate the benefits of DTF, it helps to understand the process. It involves a few key steps, each crucial to the final quality of the print.
Step 1: Printing the Design on Film
First, your design is printed onto a special PET film using a DTF printer. This printer uses CMYK inks, but it also has a white ink channel. The white ink acts as a base layer, ensuring that vibrant colors pop even on dark fabrics. The film is printed in reverse (mirrored) so that when you transfer it, the design appears correctly.
Step 2: Applying Adhesive Powder
While the ink is still wet, a hot-melt adhesive powder is applied to the printed film. This powder is what bonds the design to the fabric. It's typically applied evenly using a powder shaker or an automatic powder machine. After application, the film is shaken to remove excess powder, leaving only a thin layer that will melt during the heat press.
Step 3: Curing the Powder
The film then goes through a curing oven or is heat-pressed briefly to melt the powder into the ink. This step ensures that the powder becomes a solid adhesive layer that will later fuse with the fabric. The film is now ready for transfer.
Step 4: Heat Pressing
To apply the transfer, you place the film (powder side down) onto your garment or other surface. Using a heat press, you apply pressure and heat (typically around 300°F for 10-15 seconds) to activate the adhesive. After cooling, you peel off the film, leaving a vibrant, durable print behind.
Why Choose DTF Transfers? Key Benefits
The popularity of DTF isn't just a fad; it offers several distinct advantages over other printing methods.
- Versatility: DTF works on almost any fabric, including cotton, polyester, nylon, and blends. This makes it perfect for creating a diverse product range.
- Vibrant Colors: The white ink base ensures that your designs are bright and saturated, even on dark materials.
- Durability: DTF prints are known for their excellent washability and stretchability. They don't crack or fade easily, making them ideal for activewear and everyday garments.
- Cost-Effective for Small Runs: There are no setup costs or minimum order quantities. You can print a single item or a thousand at the same price per piece.
- Soft Hand Feel: The adhesive layer is thin, resulting in a print that feels smooth and flexible on the fabric, unlike some thick plastisol prints.
- No Screen Preparation: Say goodbye to screen burning and washing. DTF is a digital process, so you can print designs quickly and easily.
What You Need to Get Started with DTF
If you're considering adding DTF to your workflow, you'll need some specific equipment and supplies. Here's a rundown of the essentials:
A DTF Printer
You can either purchase a dedicated DTF printer or convert an existing inkjet printer. Dedicated models often come with white ink circulation systems to prevent clogging. Popular brands include Epson and Ricoh. If you're on a budget, you can start with a converted printer and upgrade later.
DTF Film
This is the special PET film that your design is printed on. It comes in rolls of various widths, typically 30cm to 60cm. You'll need to choose the right size based on your production needs.
Adhesive Powder
Hot-melt adhesive powder is available in different mesh sizes (coarse and fine). Coarse powder is used for larger designs, while fine powder is better for intricate details. It's essential to use high-quality powder for the best adhesion and hand feel.
Heat Press
A reliable heat press is crucial for transferring the design. You can use a clamshell, swing-away, or even a flat press. Just ensure it can reach the required temperature and provide even pressure.
Curing Oven (Optional but Recommended)
While you can cure the powder with a heat press, a curing oven speeds up the process and ensures consistent results. It's a worthwhile investment if you're doing high-volume production.
Step-by-Step Guide to Creating Your First DTF Transfer
Ready to try it? Here's a simple guide to make your first DTF transfer:
- Prepare your design: Use design software like Photoshop or Illustrator. Ensure your design is in high resolution (at least 300 DPI) and mirror it horizontally.
- Print on film: Load the PET film into your printer, making sure the printable side is facing up. Print your design with the appropriate settings for DTF (CMYK + White).
- Apply adhesive powder: While the ink is still wet, cover the printed area with adhesive powder. Shake off the excess and check for even coverage.
- Melt the powder: Use a heat press or curing oven to melt the powder. If using a heat press, set it to 160°C (320°F) and press for about 20 seconds. Let it cool.
- Transfer to fabric: Pre-press your garment for a few seconds to remove moisture and wrinkles. Place the film on the garment (powder side down) and press at 170°C (340°F) for 10-15 seconds.
- Peel and finish: Let it cool for a few seconds, then peel off the film. For best results, use a hot peel (peel immediately) or cold peel (wait until cool) depending on the film type. Your design is ready!
DTF Transfers vs. Other Methods: A Comparison
To help you decide if DTF is right for you, let's compare it with other popular techniques like screen printing, heat transfer vinyl (HTV), and sublimation.
DTF vs. Screen Printing
Screen printing is excellent for large batches of simple designs, but it requires significant setup costs and time. DTF offers more flexibility for small orders and detailed, colorful designs. If you need to produce hundreds of identical shirts, screen printing might be more cost-effective, but for most modern businesses, DTF is a game-changer.
DTF vs. Heat Transfer Vinyl (HTV)
HTV is great for cutting out solid shapes and text, but it's not suitable for full-color designs. DTF can print any design, including gradients and photos, without the need for layering multiple vinyl pieces. DTF also has a softer feel and better durability.
DTF vs. Sublimation
Sublimation works best on polyester and light-colored fabrics, and it requires a special coating. DTF, on the other hand, works on cotton and dark colors, making it more versatile. Sublimation produces permanent results because the ink becomes part of the fabric, but DTF prints are also highly durable.
Tips for Achieving High-Quality DTF Transfers
To get the best results from your DTF setup, keep these tips in mind:
- Use high-quality materials: Invest in good film, powder, and ink. Cheap supplies often lead to poor adhesion and color washout.
- Maintain your printer: Clean the print head regularly and ensure the white ink is properly mixed to prevent clogs.
- Test before production: Always do a test print on a sample fabric to check color accuracy and adhesion.
- Adjust your press settings: Different fabrics may require different temperatures and times. Experiment to find the perfect combination.
- Pre-press garments: This removes moisture and ensures a smooth surface, which helps the powder adhere properly.
Frequently Asked Questions About DTF Transfers
What is the difference between DTF and DTG?
DTG (Direct to Garment) is a method of printing designs directly onto fabric using a specialized inkjet printer. DTG is great for detailed prints on cotton, but it has limitations on polyester and dark colors. DTF transfers, on the other hand, allow you to print on a film first and then transfer it, making it more versatile across fabrics. DTF also tends to be more cost-effective for smaller orders and doesn't require pretreating garments.
How long do DTF transfers last?
With proper care, DTF prints can last for many washes. The durability depends on factors like the quality of materials, application technique, and washing conditions. Generally, DTF transfers are known for their excellent washability, with prints remaining vibrant and intact for over 50 washes.
Can I use DTF transfers on dark fabrics?
Yes, one of the biggest advantages of DTF is its ability to print on dark fabrics. The white ink base ensures that your design stands out, and the transfer process works well on black, navy, and other dark colors.
What is the ideal temperature and time for pressing DTF transfers?
The typical temperature for pressing DTF transfers is around 300°F to 340°F, with a pressing time of 10 to 15 seconds. However, always follow the instructions provided by your film and powder manufacturer, as different products may have specific requirements.
Can I do DTF transfers at home without a heat press?
While it's possible to use a household iron, it's not recommended because maintaining consistent pressure and temperature is difficult. A heat press provides even pressure and heat, which is essential for a quality transfer. If you're just starting, you might consider purchasing a small, affordable heat press.
In conclusion, DTF transfers are a versatile and efficient printing method that can elevate your custom apparel game. With the right equipment and a bit of practice, you can produce professional-looking, durable prints that will impress your customers or friends. Whether you're looking to start a side hustle or expand your existing business, DTF technology is definitely worth exploring.