
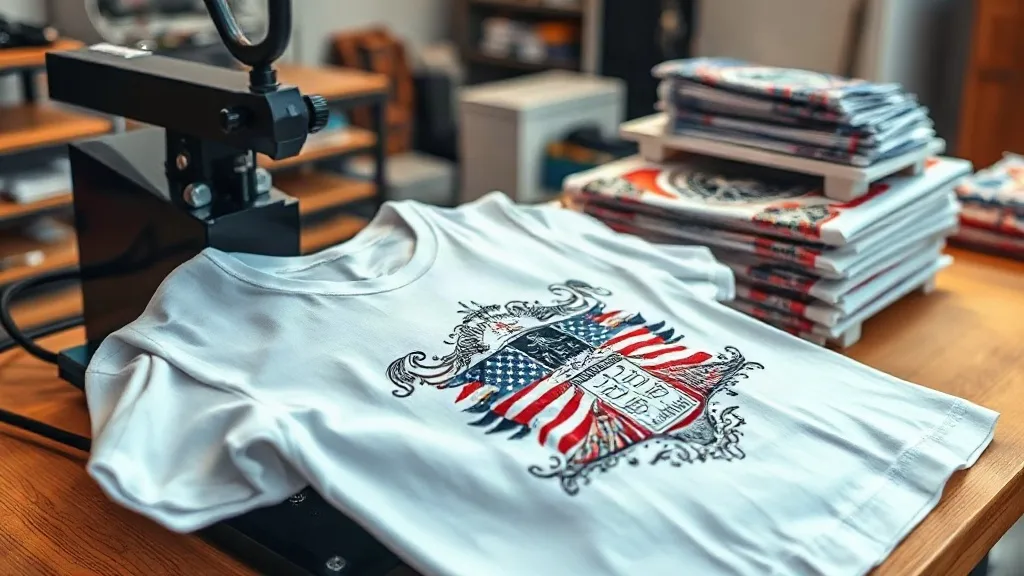
Imagine pressing a button and watching a full-color design come to life on a cotton t-shirt, a polyester jersey, or even a canvas tote. That's the magic of dtf transfers. Unlike traditional screen printing or vinyl, DTF (Direct to Film) technology lets you transfer intricate, multicolored designs onto almost any fabric without the hassle of weeding, layering, or color limitations. In this guide, we'll walk you through everything you need to know about dtf transfers, from how they work to why they might be the missing piece in your custom apparel business.
What Are DTF Transfers?
DTF transfers are printed on a special film using water-based pigment inks. The design is printed onto the film, then a hot-melt adhesive powder is applied while the ink is still wet. After curing, the transfer is ready to be heat-pressed onto fabric. The result is a soft, stretchable, and durable print that bonds permanently to the material.
What sets DTF apart is its versatility. You can print on cotton, polyester, blends, nylon, leather, and even treated wood. No pre-treatment is required, and you don't need to worry about color matching or screen setups. Whether you're a hobbyist or a commercial printer, DTF opens up a world of possibilities.
Why Choose DTF Transfers Over Other Methods?
If you've ever worked with heat transfer vinyl (HTV) or screen printing, you know the limitations. HTV requires weeding, which is time-consuming and impractical for complex designs. Screen printing is cost-effective for large orders but expensive for small runs and limited in color gradients. DTF bridges the gap.
- No weeding or masking: The film holds the entire design, so you skip the tedious prep work.
- Full-color capability: Print photorealistic images, gradients, and fine details without extra cost.
- Works on multiple fabrics: From 100% cotton to 100% polyester, DTF adheres reliably.
- Durability: Properly applied DTF prints resist cracking, peeling, and fading after dozens of washes.
- Cost-effective for short runs: No minimums, no setup fees. Print one or one hundred.
For small businesses and side hustlers, DTF transfers mean you can offer custom apparel without investing in expensive equipment or inventory.
How to Apply DTF Transfers: Step-by-Step
Applying DTF transfers is straightforward, but getting a professional result requires attention to detail. Here's the process:
- Preheat your heat press: Set the temperature to 300-325°F (150-160°C) and preheat the garment for 5-10 seconds to remove moisture and wrinkles.
- Position the transfer: Place the DTF transfer on the garment with the printed side facing up. If your transfer has a clear carrier film, the design should be against the fabric.
- Press: Apply medium to firm pressure for 10-15 seconds. Use a Teflon sheet or parchment paper over the transfer to protect it.
- Peel: Wait for the transfer to cool completely (cold peel) or peel while hot (hot peel), depending on the film type. Most DTF transfers are cold peel, meaning you wait until it's cool to the touch before removing the film.
- Post-press (optional): For extra durability, cover the design with parchment and press again for 5 seconds.
Always test on a scrap piece of fabric first to dial in your press settings. Different fabrics and transfer brands may require slight adjustments.
DTF Transfer Film Types: Hot Peel vs. Cold Peel
DTF transfer films come in two main types: hot peel and cold peel. Hot peel films allow you to remove the carrier sheet immediately after pressing while the transfer is still hot. This speeds up production but can be trickier to handle. Cold peel films require you to wait until the transfer cools completely before peeling. Cold peel generally yields a smoother finish and is more forgiving for beginners.
When choosing, consider your workflow. If you're producing hundreds of shirts, hot peel can save time. For intricate designs or if you're just starting out, cold peel is safer.
Common Mistakes to Avoid with DTF Transfers
Even seasoned crafters run into issues. Here are the most common pitfalls and how to avoid them:
- Insufficient pressure: If the transfer doesn't adhere fully, increase pressure. Uneven pressure can cause parts of the design to lift.
- Wrong temperature: Too hot and the film may warp; too cool and the adhesive won't activate. Invest in an infrared thermometer to verify your press temperature.
- Peeling too soon or too late: Follow the film manufacturer's instructions. Peeling a cold-peel film while hot can smear the design.
- Not pre-pressing: Moisture in the fabric can cause the transfer to bubble or peel. Always pre-press.
- Using the wrong fabric: While DTF works on many fabrics, some heavily textured or coated materials may not bond well. Test first.
By avoiding these mistakes, you'll achieve consistent, professional results.
DTF Transfers vs. DTG and Sublimation
Direct-to-garment (DTG) printing is another popular method for custom apparel. DTG prints directly onto the garment, which is great for 100% cotton but struggles on dark colors and synthetic fabrics. Sublimation requires polyester-coated surfaces and only works on light-colored poly. DTF, on the other hand, works on both natural and synthetic fabrics, darks and lights, without pre-treatment. It's the most versatile option for mixed-material orders.
If you offer a variety of apparel, DTF transfers simplify your production and reduce the need for multiple machines.
Design Tips for Stunning DTF Transfers
To get the most out of your DTF transfers, keep these design principles in mind:
- Use high-resolution images: DTF prints details well, but low-res files will look pixelated. Aim for 300 DPI at the final print size.
- Add a white underbase: If printing on dark fabrics, ensure your design includes a white layer behind colors to make them pop. Most DTF software does this automatically.
- Avoid very fine lines: While DTF handles fine details, extremely thin lines (less than 0.5 pt) may not reproduce cleanly. Thicken them slightly.
- Consider the fabric color: Transparent or semi-transparent designs may show the fabric underneath. Use solid colors or a white base for opacity.
Experiment with different designs to see what works best for your audience.
Frequently Asked Questions About DTF Transfers
How long do DTF transfers last on a shirt?
With proper application and care, DTF transfers can last 50+ washes without significant fading or cracking. Always wash inside out in cold water and avoid bleach.
Can I use DTF transfers on 100% polyester?
Yes, DTF transfers work excellently on polyester. In fact, they often adhere better to polyester than DTG or sublimation, especially on dark colors.
Do I need a special printer for DTF transfers?
You can either purchase a dedicated DTF printer or buy pre-printed transfers from a supplier. For beginners, buying transfers is more cost-effective and requires only a heat press.
What is the best temperature for pressing DTF transfers?
Most DTF transfers require 300-325°F (150-160°C) with medium to firm pressure for 10-15 seconds. Always check the instructions from your transfer supplier.
Can I layer DTF transfers?
Yes, you can layer DTF transfers, but it's tricky. It's better to print the entire design as one transfer if possible. If layering, press each layer separately and ensure proper adhesion.
Final Thoughts
DTF transfers are a game-changer for anyone in the custom apparel industry. They offer unparalleled versatility, durability, and ease of use. Whether you're a small business owner, a craft enthusiast, or a professional printer, incorporating DTF into your workflow can expand your offerings and delight your customers. With the tips in this guide, you're ready to start creating stunning, long-lasting designs. So fire up your heat press and let your creativity run wild.