
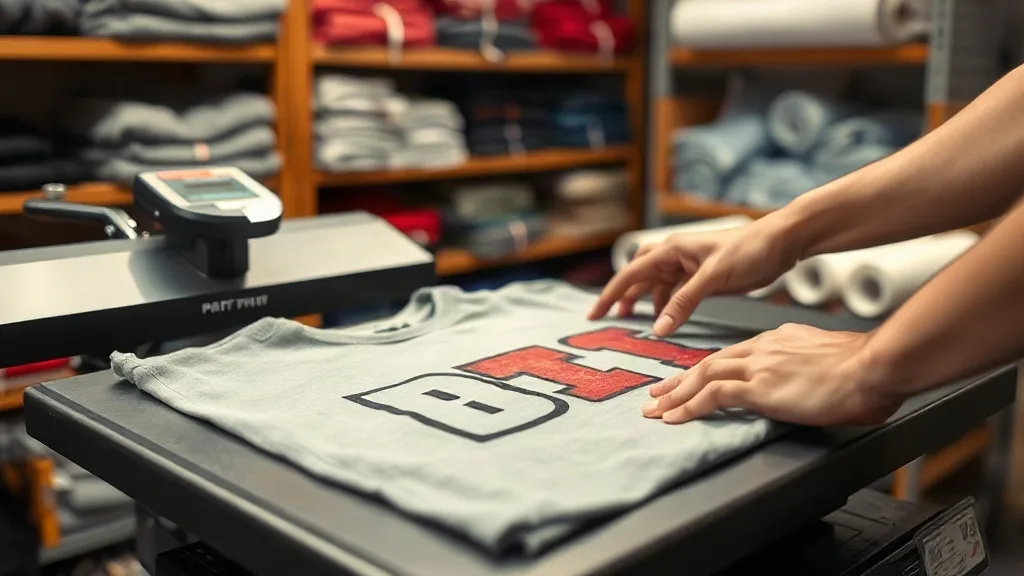
You've probably heard the saying that the first press makes the print, but the second press makes it last. In the world of dtf transfers, that second press is often overlooked, yet it's the step that separates a print that survives a few washes from one that stays put for the life of the garment. If you've ever pulled a shirt from the dryer only to find cracks or edges lifting, you know the frustration. The fix usually isn't a new powder, a different film, or a more expensive press. It's a simple second press that most operators skip.
This article dives into the why and how of the second press. We'll cover what it does, when to do it, and how to adjust it for different fabrics. Whether you're running a small shop or pressing one-off jobs, these insights will help you get more consistent, durable results from your dtf workflow.
Why a Second Press Matters
When you apply a DTF transfer, the adhesive powder melts and bonds with the fabric. But that bond isn't fully set when the press opens. The adhesive needs a second heat cycle to fully cure and penetrate the fibers. Without it, the print may look fine initially, but the adhesive remains somewhat brittle and prone to failure, especially after washing.
A second press does two things: it re-melts the adhesive to create a stronger mechanical bond, and it drives out any residual moisture that might interfere with adhesion. Think of it as tempering chocolate. The first heat melts it, but the controlled cooling and second heat give it the right structure and snap. Similarly, the second press gives the adhesive the structure it needs to flex with the fabric instead of cracking.
In our shop, we started doing a second press on every job about a year ago. Before that, we had a 5-7% failure rate after the first wash. Now it's under 1%. The difference was night and day, and it cost us nothing but a few extra seconds per shirt.
When to Do the Second Press
Timing is critical. You don't want to press immediately after peeling, but you also don't want to wait too long. The sweet spot is while the print is still warm to the touch, but not hot. Typically, this means waiting 30 to 60 seconds after peeling. If the print has cooled completely, you can still do a second press, but you'll need to bring it back up to temperature first, which adds time.
The second press should happen before the garment is folded or packed. If you're doing a batch, it's best to set up a rotation: press, peel, set aside to cool slightly, then second press. This keeps the workflow smooth and ensures you don't forget the step.
Hot Peel vs. Cold Peel
The type of peel affects the timing. Hot peel transfers are designed to be peeled immediately while still hot. In that case, the second press can happen almost right away, as soon as the film is removed. Cold peel transfers require the garment to cool completely before peeling. After peeling, you'll want to bring the print back up to temperature for the second press, which means either waiting for it to cool then reheating, or doing the second press after a short cool-down. Always follow the manufacturer's instructions for the specific film you're using.
How to Execute the Second Press
The second press is not just a repeat of the first. You'll use lower pressure and often a slightly lower temperature to avoid over-curing or damaging the print. Here's a step-by-step guide:
- Prepare the garment: Place the garment back on the press, making sure the print is flat and free of wrinkles. If you used a cover sheet for the first press, use it again to protect the print from direct contact with the upper platen.
- Set the temperature: Use a temperature about 10-15°F (5-8°C) lower than the first press. For most DTF transfers, the first press is around 300-320°F (150-160°C), so the second press would be around 285-305°F (140-150°C). This is enough to re-melt the adhesive without scorching the fabric or the print.
- Apply light pressure: You don't need heavy pressure. Medium-light pressure is sufficient to ensure contact without squashing the print. Too much pressure can cause the adhesive to spread and create a halo effect.
- Press for a short duration: 5-8 seconds is usually enough. The goal is to heat the adhesive, not to re-cure the entire print. If you press too long, you risk over-melting the adhesive and causing it to wick into the fabric, which can make the print feel stiff.
- Cool and inspect: Remove the garment and let it cool completely before folding or stacking. Check the edges for any lifting; if you see any, you can do a spot press with a small piece of parchment paper.
It's a good idea to do a test with your specific setup. Press a sample, then wash it according to the care instructions. If it holds up, you've found your settings. If not, adjust the temperature or pressure slightly.
Adjusting for Different Fabrics
Not all fabrics behave the same under heat. Cotton can take higher temperatures, while polyester and blends are more sensitive. For 100% cotton, you can use the standard settings. For polyester, lower the temperature by another 5-10°F and reduce the press time to avoid glazing or dye migration. For blends, find a middle ground and always test.
Dark fabrics can show heat marks more easily, so using a cover sheet is especially important. Also, some fabrics have a finish that can be affected by heat, so a lower temperature is safer.
Common Mistakes to Avoid
Even with good intentions, operators sometimes get the second press wrong. Here are the pitfalls we see most often:
- Pressing too hot: This can cause the adhesive to over-melt and wick into the fabric, leading to a stiff feel and potential cracking. It can also scorch synthetic fabrics.
- Pressing too long: Similar to overheating, prolonged pressing can degrade the adhesive and the print itself. Keep it short.
- Using too much pressure: High pressure can flatten the print and cause the edges to spread, creating a halo. It can also force the adhesive into the fabric unevenly.
- Skipping the cover sheet: Without a cover sheet, the print can stick to the upper platen or get a shiny, textured finish. Always use a cover sheet or parchment paper.
- Not waiting for the right moment: Pressing while the print is still too hot can cause the adhesive to smear. Pressing after it's completely cold may require longer to reheat. Aim for warm, not hot.
If you're ever unsure, err on the side of lower temperature and shorter time. You can always do another quick press, but you can't undo over-curing.
How to Know It's Working
After the second press, the print should feel smooth and flexible. The edges should be well-bonded with no lifting. If you gently stretch the fabric, the print should stretch with it without cracking. A quick visual inspection under good light will reveal any areas that need attention. Over time, you'll develop a feel for it.
One shop owner I know does a "thumbnail test": after cooling, he gently scratches the edge with his thumbnail. If the edge lifts, it needs more press. If it holds, it's good. It's not scientific, but it's a quick check that works.
Frequently Asked Questions
Can I skip the second press if I'm in a hurry?
Skipping the second press increases the risk of early failure, especially after washing. If you're in a hurry, you can reduce the second press to 3-5 seconds, but don't eliminate it entirely. The few extra seconds are worth the durability.
Does the second press work on all DTF films?
Most DTF films benefit from a second press, but always check the manufacturer's recommendations. Some films are designed for a single press, and a second press might not be necessary. However, in our experience, a gentle second press rarely hurts and often helps.
What if my print already cracked after washing? Can a second press fix it?
Once a print has cracked, a second press won't repair the damage. The adhesive has already failed. However, you can prevent future cracking by incorporating the second press into your workflow. For already-cracked prints, you'll need to remove and reapply.
How long should I wait between the first and second press?
Wait until the print is warm but not hot, typically 30-60 seconds after peeling. If it has cooled completely, you can still do the second press, but you may need to increase the time slightly to ensure the adhesive re-melts.
Can I use the second press on garments with heat-sensitive embellishments?
If the garment has heat-sensitive elements like vinyl or certain synthetic patches, you should avoid pressing directly over them. Use a cover sheet and lower the temperature. If possible, press the DTF area only, or use a heat shield.
Incorporating a second press into your DTF workflow is one of the simplest upgrades you can make. It costs almost nothing and pays off in customer satisfaction and reduced returns. Give it a try on your next batch and see the difference for yourself.