
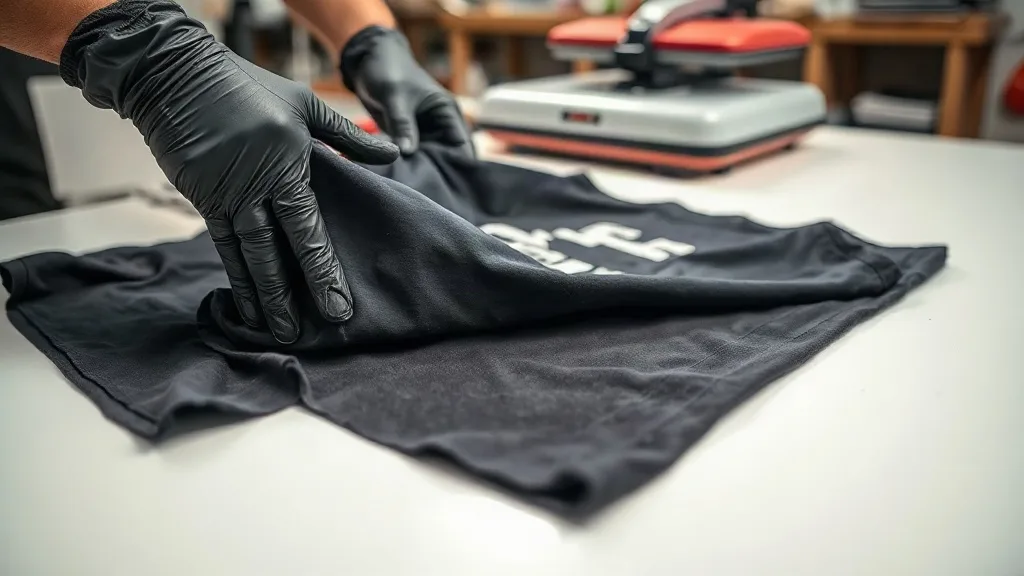
You've probably noticed that some dtf transfers feel like a second skin, stretching and recovering with the garment through every wear, while others crack at the first tug. The difference isn't luck or expensive equipment. It's the science of how the adhesive powder bonds to the ink and the fabric, and how you manage that bond during curing and pressing. In this article, we'll dig into the chemistry that makes a print elastic, why some prints fail under stretch, and the practical steps you can take to produce transfers that survive real-world wear.
The anatomy of a DTF transfer: more than ink on film
A dtf transfer is a sandwich of four materials: the PET film, the printed ink layer, the adhesive powder, and finally the fabric. Each layer has a job. The film is just a carrier; it doesn't stay on the garment. The ink provides color and, crucially, a flexible matrix that holds the pigment. The powder melts and fuses with the ink, then bonds to the fabric during pressing. The fabric is the final variable, with its own stretch characteristics.
When you pull a print, the force travels through all these layers. If any layer is too rigid or doesn't adhere properly, the print will crack or peel. The key to stretchability is that the ink and powder must remain flexible after curing, and the bond to the fabric must be strong enough to transfer that stretch without breaking.
Why powder chemistry determines stretch
The adhesive powder is often treated as an afterthought, but it's the unsung hero of a durable dtf transfer. Most DTF powders are thermoplastic polyurethane (TPU) based. TPU is chosen for its elasticity, toughness, and ability to bond to a wide range of fabrics. But not all TPU powders are created equal. Particle size, melting point, and molecular structure all influence how the final print behaves under stretch.
Particle size and coverage
Smaller particles give you a smoother, more uniform melt, which translates to better flexibility. Larger particles can create a thicker, stiffer layer that cracks when stretched. If you've ever noticed a gritty texture on a print, that's a sign of coarse powder or uneven application. For stretchy fabrics, aim for a fine powder (around 80-200 microns) and apply it evenly so that every part of the wet ink is covered.
Melting point and elastic modulus
The powder's melting point should match your curing conditions. If the powder doesn't fully melt, the particles remain distinct and create weak points. If it overheats, the polymer chains can degrade, reducing elasticity. Look for a powder with a melting range of 90-115°C (194-239°F) and a low elastic modulus, meaning it stays rubbery rather than becoming brittle. Suppliers often provide technical data sheets; use them.
Curing: the make-or-break step for elasticity
Curing is where the powder transforms from discrete particles into a continuous, flexible film. The goal is to melt the powder completely without cross-linking it into a rigid network. Temperature, time, and airflow all play a role.
Temperature and time
Most powders require a cure temperature of 150-160°C (300-320°F) for 2-3 minutes. But here's the nuance: the actual temperature at the ink layer may be lower than your oven's display. Use an infrared thermometer to verify. Under-curing leaves powder granules that act as stress concentrators, leading to cracks. Over-curing makes the polymer brittle. Find the sweet spot by testing a small batch and stretching it after cooling.
Airflow and humidity
Proper airflow helps distribute heat evenly and removes moisture. High humidity can cause the powder to absorb water, which turns to steam during curing and creates bubbles or weak spots. Store powder in a sealed container with desiccant, and avoid curing in a damp environment.
Pressing parameters that preserve stretch
Even a perfectly cured transfer can fail if the pressing step is wrong. The goal is to bond the adhesive to the fabric without flattening the ink or overheating the powder.
Pressure
Medium pressure is usually best. Too little pressure and the adhesive won't penetrate the fabric fibers; too much and you'll squash the ink, making it thin and more prone to cracking. For stretchy fabrics like spandex blends, use slightly lower pressure and a longer dwell time to allow the adhesive to flow without compressing the fabric too much.
Temperature and dwell time
Press at 150-160°C (300-320°F) for 10-15 seconds. For thick or heavily textured fabrics, increase dwell time to 20 seconds. Always use a cover sheet (like Teflon or parchment) to protect the print and ensure even heat. Peel the film warm or cold? For stretch, cold peel is often better because it allows the adhesive to set before you remove the carrier, reducing the chance of pulling the print out of shape.
Fabric selection: the other half of the equation
Not all fabrics stretch equally. Cotton and cotton-poly blends have minimal stretch, so almost any well-made dtf transfer will perform. But when you move into performance wear, swimwear, or athletic jerseys, the fabric's elasticity becomes a factor. A print that doesn't stretch with the fabric will crack. The key is to match the transfer's flexibility to the fabric's stretch percentage. For high-stretch fabrics (over 20% elastane), you need a powder with high elongation and a pressing technique that doesn't inhibit movement.
Also consider the fabric's surface. Smooth, tightly woven fabrics allow for good adhesion. Loosely knit or textured fabrics may require more pressure or a different powder mesh to achieve a mechanical bond.
Testing for stretch: simple methods you can do in your shop
You don't need a lab to evaluate stretch. A few simple tests will tell you a lot.
- Manual stretch test: After the print has cooled, grab the fabric on either side of the print and stretch it firmly. Hold for 5 seconds and release. Look for cracks or delamination.
- Wash test: Wash the garment inside out in warm water, then tumble dry low. Repeat 3-5 times. Check for cracks, peeling, or fading.
- Elongation check: Cut a small strip of the transfer (before pressing) and stretch it. It should elongate at least 50% without breaking.
If you're looking for a reliable source of dtf transfers near me, consider ordering sample packs from different suppliers and running these tests. The results will guide your purchasing decisions.
Common myths about stretch and durability
There's a lot of misinformation out there. Let's clear up a few.
Myth: More powder equals better durability
Actually, excess powder creates a thick, stiff layer that cracks easily. You want just enough powder to cover the ink, not a snowstorm.
Myth: Higher press temperature always means better bond
Too much heat can degrade the powder and make it brittle. Stick to the recommended range and verify with a thermometer.
Myth: All DTF powders work the same
Powders vary in chemistry. Some are designed for high stretch, others for durability on rigid fabrics. Choose accordingly.
Frequently asked questions
How can I tell if my DTF powder is suitable for stretchy fabrics?
Check the technical data sheet for elongation at break. A powder with elongation over 300% is generally good for stretch. Also, test a small sample by pressing it onto a stretchy fabric and performing a manual stretch test.
Why do my DTF prints crack after a few washes even though they looked fine initially?
Cracking after washing often indicates under-curing or insufficient powder coverage. The powder may not have fully melted, leaving weak points that fail under the mechanical action of washing. Re-evaluate your curing temperature and time, and ensure even powder application.
Can I use DTF transfers on fabrics with elastane?
Yes, but you need to choose a powder with high elongation and press at a slightly lower pressure to avoid compressing the fabric. Also, cold peel the film to prevent stretching the print during removal.
What is the ideal press pressure for stretchy fabrics?
Medium pressure (around 40-60 PSI) is a good starting point. For very stretchy fabrics, reduce to 30-40 PSI and increase dwell time to 20 seconds to allow the adhesive to flow without flattening the ink.
How do I store DTF powder to maintain its performance?
Keep it in an airtight container with a desiccant packet. Store in a cool, dry place away from direct sunlight. Humidity is the enemy; it causes clumping and inconsistent melting.
Understanding the science behind dtf transfers gives you the power to troubleshoot and improve your prints. By paying attention to powder chemistry, curing, and pressing, you can create transfers that not only look vibrant but also move with the fabric, wash after wash. For more in-depth guides and high-quality supplies, visit dtf transfers.