
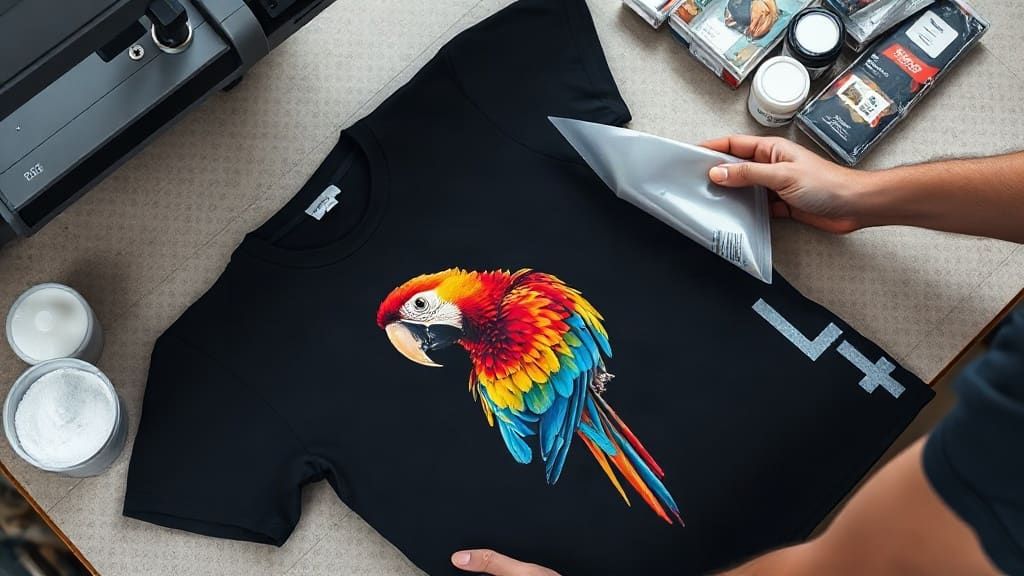
DTF transfers have taken the custom printing world by storm. If you've been searching for a way to create vibrant, durable prints without the complexity of screen printing or the limitations of vinyl, DTF might be the answer. This guide breaks down everything you need to know about DTF transfers, from the basics to advanced tips, so you can start printing like a pro.
What Are DTF Transfers?
DTF stands for Direct to Film. It's a printing method where a design is printed onto a special film using a printer and then transferred to fabric using heat and adhesive powder. The result is a soft, flexible, and highly detailed print that can be applied to a wide range of fabrics, including cotton, polyester, blends, and even some non-fabric items like tote bags.
Unlike traditional heat transfer vinyl, DTF allows for full-color designs with gradients and intricate details, all in one go. There's no need to weed out excess material, which saves time and effort.
How Does DTF Printing Work?
The process involves a few key steps:
- Printing: A DTF printer uses special CMYK inks and white ink to print the design onto a PET film. The white ink acts as a base for colors, making them pop on any fabric color.
- Adhesive application: After printing, a hot-melt adhesive powder is applied to the wet ink. This powder adheres to the design and later melts during heat application, bonding the print to the fabric.
- Curing: The film is then passed through a curing oven or heat press to melt the adhesive powder and dry the ink completely.
- Transfer: The film is placed on the fabric, adhesive side down, and heat pressed for 15-20 seconds at about 320°F (160°C) with medium pressure. After cooling, the film is peeled away, leaving the design on the fabric.
The beauty of DTF is that the transfer can be stored and applied later, making it ideal for on-demand printing or bulk production.
Advantages of DTF Transfers
Why choose DTF over other methods? Here are some compelling reasons:
- Versatility: DTF works on many fabrics, including dark and light colors, without needing a white underbase separately.
- Detail and color: You can achieve high-resolution prints with smooth gradients, something hard with vinyl.
- No weeding: Save hours of labor; DTF prints come as single pieces, not individual letters or shapes.
- Soft hand feel: The print is flexible and doesn't crack or peel easily.
- Durability: DTF prints withstand multiple washes, comparable to screen printing.
DTF vs. Other Printing Methods
It helps to understand how DTF stacks up against alternatives like screen printing, HTV, and sublimation.
DTF vs. HTV
HTV requires cutting and weeding, which is time-consuming and limits designs to solid colors. DTF allows full-color prints and no weeding, making it more efficient for complex designs.
DTF vs. Screen Printing
Screen printing is excellent for large bulk orders but has high setup costs and is impractical for small runs or intricate multicolor prints. DTF is cost-effective for small to medium quantities and offers photorealistic quality.
DTF vs. Sublimation
Sublimation works only on polyester or light-colored fabrics, and it requires a polymer coating for hard surfaces. DTF is more flexible, working on cotton and blends.
What You Need to Start with DTF Transfers
If you're ready to dive in, here's a basic equipment list:
- DTF printer: A printer modified for DTF or a dedicated DTF printer (like Epson or Brother models).
- DTF inks: CMYK and white pigment inks specifically formulated for DTF.
- PET film: Specially coated film to hold the ink.
- Hot-melt adhesive powder: Applied to the wet ink.
- Heat press or conveyor dryer: For curing the adhesive and transferring prints.
- Software: RIP software like Flexi or Print Factory to control printing.
You'll also need practice and patience to master the process.
Step-by-Step Guide to Using DTF Transfers
Even if you buy pre-made DTF transfers, it's helpful to know the correct application steps.
- Pre-press the garment for 2-3 seconds to remove moisture and wrinkles.
- Place the transfer on the garment with the film side up.
- Heat press at 320°F (160°C) with medium to firm pressure for 15-20 seconds.
- Hot peel or cold peel? Follow the manufacturer's instructions. Some require hot peeling (peel immediately), others require cooling down.
- Re-press with a protective sheet for 5 seconds to ensure adhesion.
Always test on a sample garment first to adjust time and temperature.
Tips for Getting Professional Results
Quality matters. Here are expert tips to elevate your prints:
- Calibrate your printer: Ensure colors match your design; use ICC profiles.
- Use high-resolution images: 300 DPI is standard; lower res leads to pixelation.
- Moisture control: Keep film and powders in a dry environment to prevent ink spread.
- Powder application: Ensure even coverage; too much can make the print stiff.
- Curing is critical: Insufficient curing leads to poor adhesion and washing off.
- Quality film and powder: Cheap supplies cause headaches; invest in reliable brands.
Common Mistakes to Avoid
Even experienced printers slip up. Here are pitfalls to avoid:
- Using wrong heat settings: Too low and the transfer won't stick; too high and it can scorch the fabric.
- Overloading adhesive: This creates a thick, stiff print.
- Not pre-pressing: Moisture in fabric can cause poor adhesion.
- Peeling incorrectly: Hot peel when it should be cold can lift the design.
- Ignoring fabric type: Some fabrics require lower temperatures or pressure.
Frequently Asked Questions (FAQ)
Can DTF transfers be used on any fabric?
Yes, DTF transfers are versatile. They adhere to cotton, polyester, blends, nylon, and even leather and canvas. However, for very stretchy fabrics, you might need a stretchable film and proper technique to prevent cracking.
How long do DTF prints last?
With proper application and care, DTF prints can last for many washes. They are durable and resist cracking and peeling. To maximize lifespan, wash garments inside out in cold water and avoid using bleach.
Can I use DTF transfers for small orders?
Absolutely. DTF is ideal for small batches or even single items. Unlike screen printing, there's no setup cost, making it perfect for custom orders, personalized gifts, or testing designs.
What is the difference between DTF and sublimation?
Sublimation requires polyester fabrics with a white base or coating, and the ink becomes part of the fabric. DTF works on any fabric and sits on top with an adhesive layer. DTF offers more versatility in fabric choices and color vibrancy on dark garments.
How much does it cost to start a DTF business?
Startup costs vary. A basic DTF setup with a printer, powder shaker, and heat press can range from $2,000 to $5,000. If you buy pre-made transfers, you can start with minimal investment, just a heat press.
Conclusion
DTF transfers are a game-changer in custom printing. They offer flexibility, quality, and ease of use that appeal to hobbyists and business owners alike. By understanding the process, investing in good equipment, and practicing, you can produce professional-looking prints that delight your customers. Whether you're starting a side hustle or upgrading your printing capabilities, DTF is worth exploring.